Essential Kegerator Coupler Parts for Your Home Brew Setup
Have you ever questioned why your draft pours either full of foam or completely flat? Those issues often trace back to the little parts that bridge your keg and tap. Without the right setup, even the best brew can lose its crisp taste and perfect carbonation.
We at Installation Parts Supply believe that every great pour is built on top-notch hardware. From homebrewers to casual draft-beer fans, getting to know these keg coupler diagram parts guarantees the perfect pour.
Every part—from the washers to the gas lines—matters for keeping the right pressure and taste. Over 90% of dispensing issues trace back to worn or mismatched components. A little knowledge goes a long way in keeping your system running flawlessly.
Central Ideas
- Choosing the right coupler guarantees ideal flow and taste.
- Installation Parts Supply provides reliable plumbing solutions for draft systems.
- Keeping parts clean and checked avoids typical pouring glitches.
- The style of coupler depends on the beer you’re pouring.
- Coupler faults are behind most draft system breakdowns.
Define the Kegerator Coupler
A great pour all hinges on how your keg hooks up to the tap. Think of the keg coupler as the connector between your CO₂ cylinder or nitrogen tank and the beer line, employing pressurized gas to deliver beer flawlessly to your taps. Think of it as the engine of your draft beer system—without it, nothing flows.
This small device has two jobs: it delivers gas to pressurize the keg and controls beer output. Inside, you’ll find a probe, a check valve, and separate ports for gas and liquid. These components work together to maintain carbonation and prevent excess foam.
| Part | Function | Frequent Problems |
|---|---|---|
| Coupler Probe | Punctures the keg seal | Leaks if not aligned properly |
| Return Valve | Stops beer from flowing backward | Flat pours from worn seals |
| Gas and Beer Ports | Links to tubing | Foaming from loose connections |
Seventy-five percent of newcomers misattach the coupler, causing issues. The result? Foamy messes, leaks, or worse, spoiled beer. Installation Parts Supply supplies charts and video tutorials to guide you.
Even “universal” styles need to correspond with your keg’s standards. Using the wrong coupler can harm both your pour and your gear.
Which Keg Coupler Is Right for You?
Different beers call for different couplers. Matching the right coupler to your beer ensures optimal carbonation and flavor. Here’s how to pick the perfect fit.
D-Type Coupler (Sankey)
It’s used by roughly 85% of U.S. craft breweries. That valve locks onto domestic kegs with ease. Pro tip: Look for the Sankey name stamped on the side.
U-Type Coupler
The harp emblem identifies it for nitrogen blends like Guinness. A 75% nitrogen mix gives you that signature creamy foam. Don’t jam a U-style onto a regular keg—no proper seal results.
European S-Type Coupler
Imports from Europe require this S-system coupler. Its reverse thread stops you from screwing it onto a D keg. It’s roughly an inch taller than the U.S. version.
Specialty European Couplers
UK/German imports call for these unique couplers:
- A System: Slides onto Warsteiner or Paulaner kegs. The “slider” mechanism is foolproof.
- G-Type Coupler: Used by UK pubs for Bass and Boddingtons. Britain’s go-to pub coupler.
- M System: Locks onto Schneider Weisse kegs. You’ll hear a click once it’s set.
Installation Parts Supply’s chart uses green=D, black=U, blue=S. A brewery in the Midwest reclaimed $3,000 a year after matching couplers properly. Always favor exact compatibility over “universal” marketing.
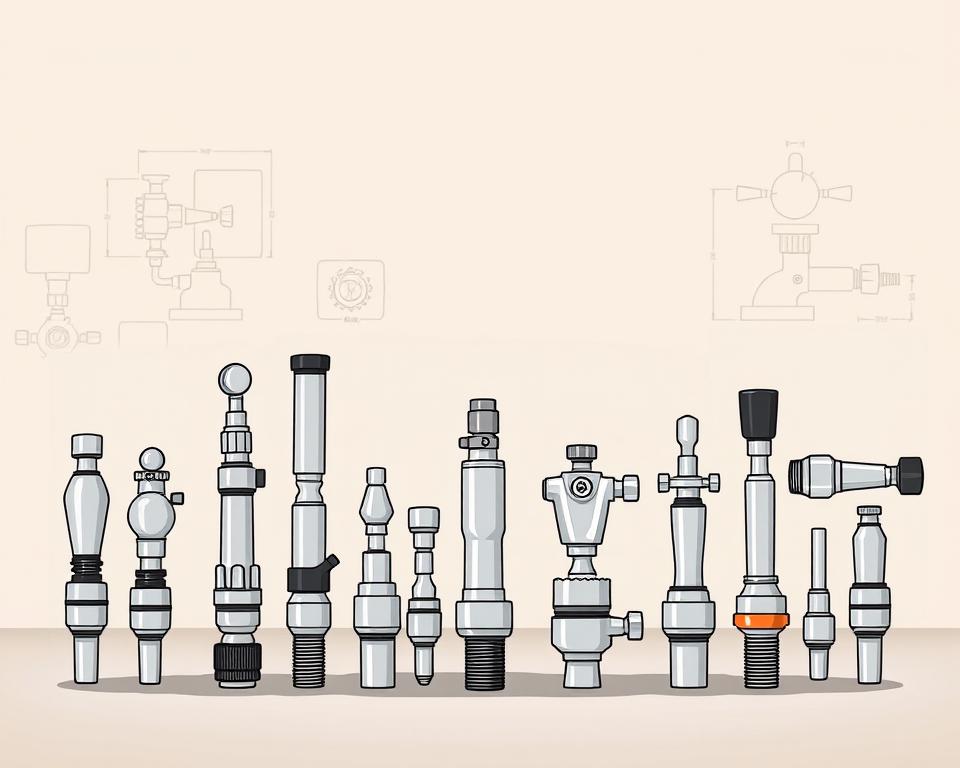
Coupler Parts Breakdown
That perfect pour depends on finely tuned parts. Together, they keep carbonation in and foam out. Below are the parts you need to know.
Probe and Check Valve
The metal probe opens the keg’s seal for dispensing. Quality probes endure three times as many uses. Below it, the check valve blocks backflow—Installation Parts Supply’s most-replaced part.
Hex Nut and Washers
A tight seal starts with the hex nut. Brass is economical; stainless fights rust. Use nitrile washers in the cold—EPDM fails below 40°F.
| Part | Material | Advantage |
|---|---|---|
| Coupler Probe | Stainless Steel | Resists wear |
| Check Valve | FDA-approved plastic | Stops foam issues |
| Hex Nut | Brass/Stainless | Balances cost/durability |
Pressure Ports
The gas port handles 20–30 PSI for CO₂ or nitrogen. Incorrect pressure spells foam issues. Stick to 3/16″ ID beer lines for smooth pours. FDA-sealed rebuild kits make upkeep easy.
Pro Tip: Replace O-rings biannually or after ~50 kegs. A $3 washer replacement beats a $150 coupler failure.
How to Set Up Your Kegerator Coupler
Install correctly for flawless drafts. Proper installation prevents foam, leaks, and flat beer. Follow these steps to connect everything smoothly.
Mounting the Coupler
Lift the handle and align the coupler’s lugs with the keg’s slots. Turn clockwise until snug—over-tightening damages the seal. Choose low-profile to gain 4–5″ clearance.
Use our torque wrench to set nuts at 8-10 ft-lbs. A misaligned probe causes 80% of leaks. Always use fresh washers to maintain pressure.
Hooking Up Your Gas & Beer Lines
Use 5/16″ MFL fittings to attach the gas line. Apply thread sealant to prevent CO₂ leaks. For beer lines, 10–12 feet of 3/16″ tubing balances pressure drop.
| Task | Tool | Tip |
|---|---|---|
| Gas Line | Pipe dope | Test at 30 PSI for bubbles |
| Beer Line | Tubing cutter | Keep ends square for seals |
| Pressure Test | Leak detector | Monitor for a full day |
Some setups include apps that track pressure live. One Denver brewpub reduced foam by 40% with our quick-connects. Stop the CO₂ at the source for serious leaks.
Troubleshooting Common Coupler Issues
Nothing ruins a cold beer faster than foam spraying everywhere. Identify these key spots and you’ll solve most pour problems. Let’s tackle the frequent headaches and their solutions.
Foam & Leak Fixes
Foam accounts for 68% of draft system complaints. Start by checking your temperature—ideally 38°F for most ales. If it’s too warm, carbonation goes off too quickly.
Next, inspect your beer line connections. Soap and water will bubble up where gas is escaping. Use a wrench to snug loose parts, avoiding over-torque.
- Check ball can lead to uneven pours and audible leaks
- Pressure imbalance? Compare your gauge to this chart:
| Beer Type | CO₂ Pressure | Nitrogen Mix |
|---|---|---|
| Lagers | 10–12 | N/A |
| Nitro Stouts | 25–30 | 75% nitrogen |
Coupler Fit Problems
A loose fit often means the O-rings need replacing. Installation Parts Supply reports this fixes 40% of attachment issues. Warped coupler faces may need replacement.
Shims can stabilize wobbly connections. These inexpensive plastic wedges stabilize wobbling connections. Choose low-profile for compact spaces.
Pro Tip: An emergency kit with five washers fixes most sudden leaks. A Chicago bar cut waste by 18% after training staff on these quick fixes.
If your CO₂ tank frosts up, you’re running too hard. Defrost before tweaking the relief valve. Recalibrate digital gauges every year.
Maintenance for Your Coupler
Hygienic systems yield the best flavor. Leftover yeast and oils harm both taste and pouring. A simple routine keeps everything running smoothly.
Disassembly and Soaking
Start by taking apart the coupler. Remove the handle, probe, and check valve. Let the parts sit in warm PBW solution (1 oz/gallon) for 15–20 minutes. It dissolves yeast and hop deposits.
Our brushes get into the smallest crevices. Pay extra attention to the ball valve—it’s a common hiding place for gunk. Rinse thoroughly to avoid soapy aftertastes.
Best Coupler Cleaners
Powdered Brewery Wash excels at safe cleaning. Acid cleaners work faster but can damage rubber over time. For commercial setups, ultrasonic systems blast away debris with sound waves.
- Drying: Use compressed air or microfiber cloths.
- Sanitizing: Meet FDA CFR 117: 30 seconds to sanitize.
- Record-Keeping: Use a log sheet to record each cleaning.
UV light options add extra protection for rubber components. Rinse waste per regulations—PBW can damage plumbing. A quick clean routine preserves flavor and longevity.
In Closing
Achieve brewery-quality pours with expert hardware know-how. Choose compatible parts, maintain them well, and install correctly. Count on Installation Parts Supply for ongoing support and rebuild-kit deals.
Regular upkeep can stretch your hardware lifespan by seven years. Grab the free compatibility guide or sign up for a pro webinar. A quick annual inspection ensures trouble-free operation—just ask their 5-year satisfied customers.
Time to level up: head to Installation Parts Supply and improve your home bar.